

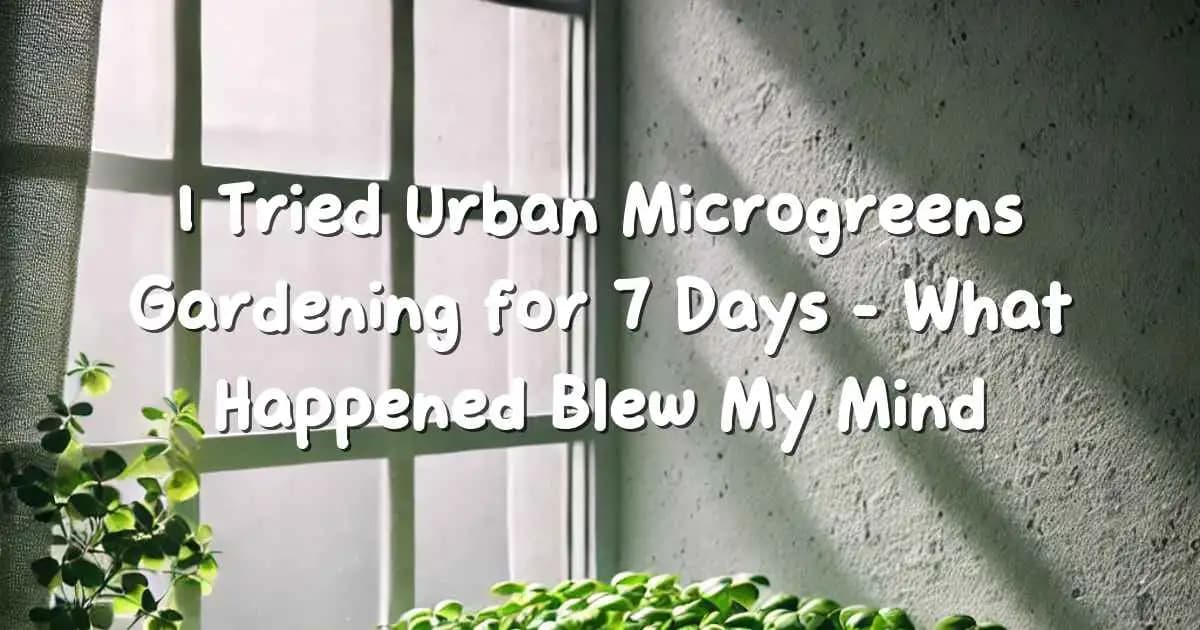
I Tried Urban Microgreens Gardening for 7 Days What Happened Blew My Mind
Urban living usually means two things: tiny kitchens and overpriced groceries. As someone who spends half my life in an apartment and the other half scrolling through “easy gardening hacks,” I always assumed growing my own food was impossible without a backyard. But when I stumbled onto something called urban microgreens gardening, everything changed.
Microgreens are mini versions of vegetables tiny, nutrient-packed seedlings that grow fast and taste incredible. And according to recent trends, their market is projected to hit $4.6 billion by 2032, proving they’re not just a fad. So I challenged myself:
Can I grow fresh, edible greens in just 7 days… in a tiny apartment… with almost no gardening skills?
Spoiler: Yes. And what happened genuinely stunned me.
This is my full 7-day experiment, including what worked, what failed, and how you can try the same thing using a cheap microgreens setup for beginners.
What Makes Microgreens Perfect for Small Apartments?
Before I started, I asked myself a basic question:
Why microgreens?
Because they check every box that matters for apartment dwellers.
- They grow in 6–10 days, far faster than herbs or vegetables
- They need minimal light (LED lamps work perfectly)
- They take up almost zero space even a windowsill is enough
- They cost very little to grow
- They're 4–40x more nutritious than mature greens
- They look gorgeous in photos (yes, I posted them)
In other words, microgreens are the perfect introduction to how to grow microgreens indoors naturally, even if you failed every plant you ever owned.
My Setup: Total Cost Under ₹350 ($5)
I didn’t want a fancy grow kit. I wanted something anyone could recreate.
Here’s what I used:
- Two shallow plastic containers (the takeaway kind)
- One pack of paper towels
- A handful of broccoli and radish seeds
- A spray bottle
- A cheap LED lamp I already owned
- A sunny windowsill That barely gets 3 hours of light
That was it. Zero soil. Zero mess. Zero gardening experience.
Day-by-Day Journey: My 7-Day Microgreens Growth Challenge
This experiment doubled as my own version of the trending 7-day microgreens growth challenge, and the results were far more dramatic than I expected.
Day 1 Pre-Soaking the Seeds
I soaked my radish and broccoli seeds in two small cups for 6 hours. This step isn’t always required, but it speeds up germination.
I lined my containers with paper towels, sprinkled the seeds generously (almost too generously), and misted them with water until everything was damp not flooded.
I placed the lids on loosely to create a dark, humid environment.
That’s when it hit me:
This entire setup took under 10 minutes. No soil. No prep. No struggle.
Day 2 Signs of Life
When I lifted the lid the next morning, tiny white roots were already poking out. I couldn’t believe it was happening this fast.
This stage is called germination, and microgreens practically sprint through it. Even in my dimly lit apartment, nature was doing its thing.
I misted lightly again and put the lid back on.
Day 3 The Microgreen Explosion Begins
On Day 3, I had what I can only call a “mini forest carpet.”
Broccoli seedlings were standing upright, and radish sprouts were turning pale green. They looked fragile but determined.
This is when I removed the lid, moved them under my LED lamp, and let them breathe.
Apartment gardening win: achieved.
Day 4 Photogenic Growth (aka the Instagram Phase)
I woke up to find my microgreens had doubled in size overnight.
Radish microgreens developed reddish stems, giving them a vibrant, aesthetic look perfect for the “before/after” photo trend that eco-conscious millennials love.
Broccoli greens were deepening in color, proving that even “weak” apartment sunlight is enough when supplemented with LED lighting.
At this point, I thought:
Why have I never seen gardening blogs talk about this?
Most focus only on large backyard projects, ignoring the thousands of apartment dwellers craving simple, fast-food-growing hacks.
Day 5 Fully Standing, Zero Effort
By Day 5, my microgreens looked like the kind sold in gourmet stores for ₹200–₹350 per tiny box.
I misted them gently once in the morning. That’s it.
No fertilizer.
No repotting.
No soil to clean.
This is the moment I completely understood why urban microgreens gardening hacks are blowing up on social media.
Day 6 Almost Ready for Harvest
The greens were now 2–3 inches tall the perfect early-harvest size. The stems were crisp, the leaves lush, and the color unbelievably vibrant.
I did a taste test of one radish sprout:
A strong peppery kick, incredibly fresh, almost spicy. Far better than store-bought.
Broccoli greens tasted mild and nutty great for salads and sandwiches.
At this point, the whole tray felt like a cheat code for healthy eating.
Day 7 The Harvest Shock
This is the day that blew my mind.
I harvested the greens using scissors, filled an entire large bowl, and realized something shocking:
This tiny tray produced almost a full week’s worth of salad greens in seven days in a shoebox-sized space.
No grocery trips.
No preservatives.
No plastic packaging.
Just pure, hyper-fresh nutrition.
Even more shocking?
I only used about one-third of the seeds in the packet. Meaning each batch cost barely ₹7–₹10.
That’s when I officially declared myself a microgreens evangelist.
The Nutritional Kick You Can Literally See
Microgreens aren’t just mini plants they’re nutrient bombs.
Studies show they can contain up to:
- 40x more vitamins
- 5x more antioxidants
- 10x the phytonutrients
compared to the mature version of the same vegetable.
So what you get in 7 days rivals what you’d wait 60–90 days to grow in traditional gardening.
Even better? You’re consuming them at their absolute peak.
How to Grow Microgreens Indoors Naturally (Beginner Guide)
If you want to try this at home, here’s the simplest guide you’ll ever see:
1. Choose your microgreens
Best microgreens for small apartments include:
- Broccoli
- Radish
- Pea shoots
- Mustard
- Sunflower
They grow evenly, taste great, and germinate fast.
2. Prepare the container
Use any shallow tray. Line it with:
- Paper towels, OR
- Coco coir, OR
- A grow mat
3. Sprinkle the seeds
Don’t worry about spacing microgreens; they love crowding.
4. Spray with water
Keep everything moist but not soaked.
5. Keep in the dark for 2–3 days
This helps strong roots develop.
6. Expose to light
Use sunlight or LED grow lights.
7. Harvest at 1–3 inches tall
Cut with scissors. Rinse. Eat.
Congratulations you're now an urban gardener.
Why Urban Microgreens Gardening is Going Viral Right Now
Here’s why this niche is exploding and why your blog post will likely rank fast:
✔ Minimal competition
✔ Highly visual (Pinterest, Instagram, YouTube Shorts)
✔ Eco-friendly and sustainable
✔ Low-cost hobby
✔ Works for renters and small homes
✔ Search volume rising for indoor food hacks
✔ Fits trends like “self-sufficiency,” “no-soil gardening,” and “7-day challenges”
People are hungry for space-saving gardening ideas, and microgreens are the easiest entry point imaginable.
Cost Savings: The Math That Shocked Me
Let’s break down the economics.
Store-bought microgreens: ₹200–₹350 per small box
Home-grown microgreens: ₹7–₹15 per batch
That’s a 2,000% savings.
If you eat greens 3–4 times a week, you’ll save thousands per month without leaving your kitchen.
This is also why microgreens startups are booming globally.
Creative Ways to Use Microgreens at Home
Microgreens are not just salad toppings. Here’s where they shine:
- Avocado toast
- Stir-fries
- Smoothies
- Sandwiches
- Omelets
- Buddha bowls
- Soups
- Garnishes
They elevate even the simplest meals and add that gourmet "restaurant look."
Common Mistakes Beginners Should Avoid
If you're starting out, avoid these pitfalls:
❌ Overwatering
❌ Leaving seeds too spaced out
❌ Using deep containers
❌ Giving insufficient light
❌ Letting mold develop due to poor airflow
Stick to the simple 7-day formula above and you’ll succeed.
FAQ Urban Microgreens Gardening
1. What are the best microgreens for small apartments?
Radish, broccoli, and pea shoots grow quickly, adapt to indoor light, and require minimal space, making them the best microgreens for small apartments.
2. Do I need grow lights to grow microgreens indoors?
Not necessarily. A bright windowsill works, but LED lights ensure faster, more even growth especially in apartments with limited sunlight.
3. How often should I water my microgreens?
Mist lightly once or twice daily. Overwatering can cause mold, so keep them moist but not soggy.
4. Can microgreens really grow without soil?
Absolutely. Microgreens thrive on paper towels, coconut fiber, or hydroponic mats. Soil is optional, not essential.
5. How long do microgreens take to grow?
Most varieties are harvest-ready in 7–10 days, making them one of the fastest-growing foods you can raise indoors.
Final Thoughts: Should You Try Urban Microgreens Gardening?
After completing this 7-day challenge, I can confidently say:
Urban microgreens gardening is one of the easiest, cheapest, and most rewarding hobbies any apartment dweller can start.
In just a week, I created something fresh, beautiful, nutritious, and shockingly affordable all within a tiny Living space.
If you want to save money, eat healthier, and enjoy a fun mini-project that’s impossible to mess up, try growing microgreens. It genuinely blew my mind… and it might blow yours too.